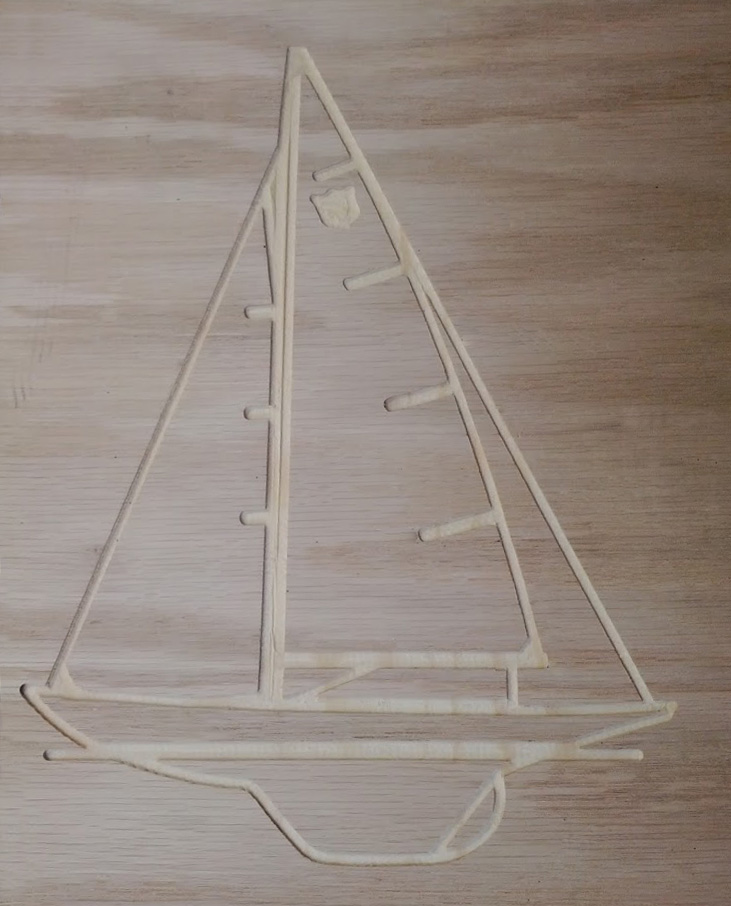
Milling wood is fun. However, my current challenge is finishing designs with the proper contrast. This is the first project that I made, and left it without a finish. A decent start, but the design does not stand out.:

There are numerous options, but my primary goal is to minimize the amount of free-hand work for the sake of maintaining sanity. To that end, I have tried out two options with reasonable results:
1) Staining the piece of wood dark or black before milling: This piece has clear imperfections since the stain was only put on in one coat before cutting out the design. Thicker coats would hold up better when sanding the finished piece.

2) A multi-step process: coat with polyurethane, mill with CNC, stain black, and finally sand off the stain that is on the flat, clear surface for contrast. This is much more work, but appropriate for some projects. Here are the last two steps…
Staining after milling:

After sanding the surface stain off:

Really nice Jake. You have really gotten the process down well. I especially like the results from the poly+mill+stain+sand process.